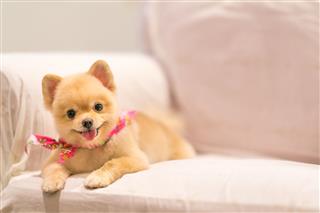
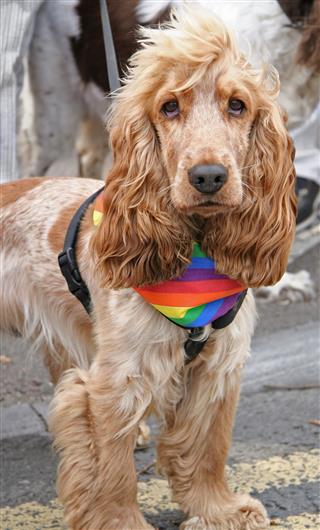
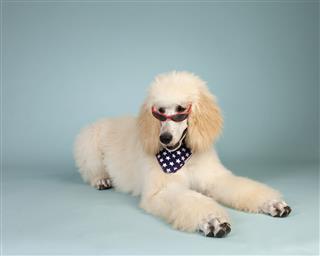
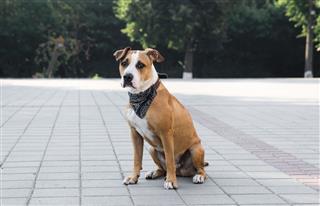
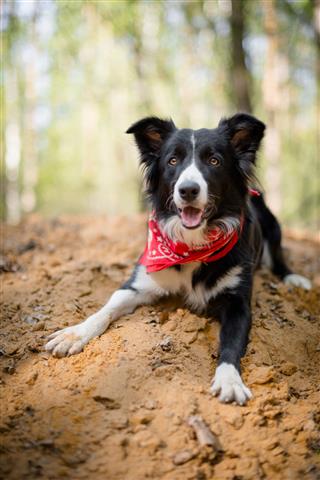
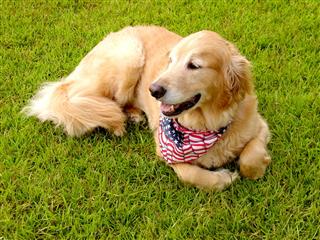
Making bandanas for your dog at home has never been easier. This is one of the most easy-to-make yet dashing-to-look-at item of a dog’s wardrobe. This DogAppy article will tell you how to make a dog bandana at home, so get ready to unleash your creative side for your pet!
It’s That Easy!
Even if If you are not really a sewing person, then you can make a bandana for your dog using either glue, hemming tape, or a fusible web. It doesn’t get easier than this!
Many dog owners like to dress up their pets in different getups. One stylish yet minimalistic way to do this is to make dog bandanas. These doggy wardrobe favorites are extremely easy to make, what with so many different methods available for the same. What’s more, you can personalize it with different embellishments as well. It is also a great way to give all those unused pieces of cloth, which are just lying around, some purpose.
The following paragraphs provide the different steps to create beautiful and unique homemade doggy bandanas! But before that, make note of some important points.
The Length of the Bandana
The bandana’s length will depend on the size of your dog’s neck. Hence, it is very important to know how much cloth you need to cut before you begin the actual process. You do not want the bandana to be too big to get caught in anything, but you don’t want it to be so small that it strangles your dog when you put it on. The dimensions for the square are as follows.
If you are making a collared bandana:
✦ Small and Medium dogs – 10 to 12 inches
✦ Large Dogs – 14 to 16 inches
If you are making a tie-up bandana:
✦ Small and Medium Dogs – 14 to 18 inches
✦ Large Dogs – 22 to 24 inches
To determine your dog’s neck size, measure his/her neck. Take a measuring tape and measure the circumference of the neck, and then add another 4 to 6 inches to that figure; you need to keep room for the seams and for your dog to breathe. It should not fit your dog’s neck to tightly; leave some space or he/she will be uncomfortable.
Now it’s time to calculate the size of the square. Your calculated measurement is actually the length of the folded edge of a diagonally-folded square. Draw this diagonal on a cloth, and join two more lines to it to make a triangle. You can decide how much you want the triangle’s length to be. Or you can use the Pythagoras theorem given below.
Suppose the length you have calculated is 16 inches (12 inches dog’s neck + 4 inch seams). Then,
(Diagonal)2 = (Side)2 + (Side)2
(16)2= (Side)2 + (Side)2
(16)2=2(Side)2
16 = 2(Side)
Side = 8
Here, the sides of the bandana’s fabric will be 8 inches. There is no need to arrive at an exact number. An approximate value will do.
Patterns and Templates
When it comes to fabric, there is a lot of scope for you to get creative. There are many patterns available in the market that you can choose from. The colors and designs are numerous and you are sure to find something that will suit your dog’s personality. However, choose a fabric that is not very rough and won’t irritate your dog’s skin.
When it comes to templates, you can go for the collared or the tie-up bandana. For the former, you just slip your dog’s collar through a slot in the bandana and then put it around your dog. For the latter, you make a slightly bigger bandana and then tie it around your dog’s neck like a scarf. The knot can go on the top, bottom, or to one side. Either way, it’ll make your dog look quite dapper. Check out the following three methods to create a homemade bandana for your dog, and then select one that is most suitable for you.
INDEX
Sewing method
- A fabric of your choice
- A pair of scissors
- Sewing machine or All-purpose thread and a needle
- Pins
- Pencil or marker to mark seams
- Iron
1.Collared Bandana
Step 1
Cut out your fabric into a square shape at the measurement you need. Make sure that all the sides of the square are of the same length. With the right side facing downward, fold any two opposite corners of the square inwards. The tip of the corner must be folded 3 to 4 inches toward the middle.
Step 2

Iron the edges of these folds and pin the triangles to keep them in place. Once this is done, sew the two edges onto the cloth. Do not sew on the folded edges, as it is not required.
Step 3

Still keeping the wrong side facing up, fold the bandana diagonally in such a way that the sewn triangles are folded further in half. You will now get a triangle extending upward to two straight edges.
Step 4

Excluding the folded edge, mark ¼th inch seams on the other two edges of the two big triangles. Join the triangles by sewing the sides, but remember not to sew the straight edges, because that’s where your dog’s collar will go. Leave a little space at a side to turn the bandana outside in.
Step 5

Turn the bandana over to the right side. Sew another ¼th inch seam on the top (folded edge). Now take your dog’s collar and place it under this seam. Measure its width, and sew a line across the bandana under the collar. Slip it through the collar, and put it on your dog.
2.Tie-up Bandana
For this, you will need a bigger piece of cloth, depending on how loose you want to tie the bandana, and how many knots you will need to make. Once you have obtained your desired piece of fabric, cut it into a square of the decided measurement. Now follow these steps.
Step 1

Fold the square diagonally so that any two opposite points are aligned with each other. Iron the folded edge, and then cut along it using a scissor. You will get two triangular pieces. You will need only one at the moment.
Step 2

Keeping the wrong side up, mark ¼th inch seams along all the three edges of the cloth using a pencil or marker. Iron and then pin them to hold them in place. Sew along these edges. Alternatively, you can also sew just the top edge.
Step 3
No-sew method
- A fabric of your choice
- A pair of scissors
- Pencil or marker to mark seams
- Iron
- Fusible web or Hemming tape or Glue and Glue gun
1.Tie-up Bandana
Step 1

Take a piece of cloth and cut it into a square as per the desired measurement. Draw the illustrated triangle onto the square using the marker. Now cut along this edge with the scissor to get the desired shape. Place it facing the wrong side up.
Step 2

Mark ¼th inch seams along all three edges of the triangle. Fold the seams and iron them down. Use the glue to stick the seams.
Step 3

Now measure the width of your dog’s collar, and mark two segments that are a little bigger than the collar, on the top as illustrated.
Step 4

Keeping the collar in the topmost segment, fold it down with the cloth. You can iron it to make the folds stay.
Alternately, you can also cut two triangles for the bandana instead of one, follow the same method, and then glue them together. If you are using fusible web or hemming tape, then you will need to iron the triangles after sticking them together.
2.Collared Bandana
Using Velcro
1.Collared Bandana
This is a very easy method for which you will need sew-on Velcro. Follow any of the steps given above to make a bandana. However, don’t make an extra slot for the collar to go through, as you won’t need it. Then take the Velcro and sew one half of it onto the dog’s collar. Sew the other half on the longest edge of the bandana. Now simply attach the two together. It cannot get easier than this!
2.Velcro Bandana
For this method, you will need to change the shape of the bandana. It cannot be a conventional triangle this time; it needs to be shaped more like a boomerang, with the two ends that are curved and much longer.
Step 1

First, create the shape from the cloth that you have chosen. If you are unsure of how much to cut, then first prepare the shape on any piece of scrap paper or cloth. See that the length is right. Cut this scrap and check by holding it around your dog’s neck.
Step 2

Once this is done, place the scrap pattern on the actual cloth and cut around it, leaving at least a ¼th inch margin for the seams.
Step 3

Take both these pieces and place them together with the wrong sides facing up. Sew the edges together, but be sure to leave a little gap somewhere, or you won’t be able to turn it outside in. This is what it should look like when you turn it the right side out and then sew in the gap.
Step 4

Once the bandana is ready, turn it right side out and begin sticking the Velcro. Stick about 2 inches horizontally on one of the ends. Stick another piece vertically on the other end, on the opposite side. The horizontal piece will help adjust how tight or loose the bandana is.
These were the steps for all the methods to make a dog bandana at home. So, what are you waiting for? Get those fabrics out and create some wonderful and fashionable bandanas for your beloved pooch!

